Fear of the warped bed

Voron printers are known for their heavy-duty bed plates, which use an 8mm thick (or more) MIC-6 cast aluminum plate instead of a thin piece of aluminum or an electronic plate. The reason for this is that cast aluminum plates are stress-relieved, which means they do not warp excessively when heated to temperatures of 110C, unlike rolled aluminum plates.
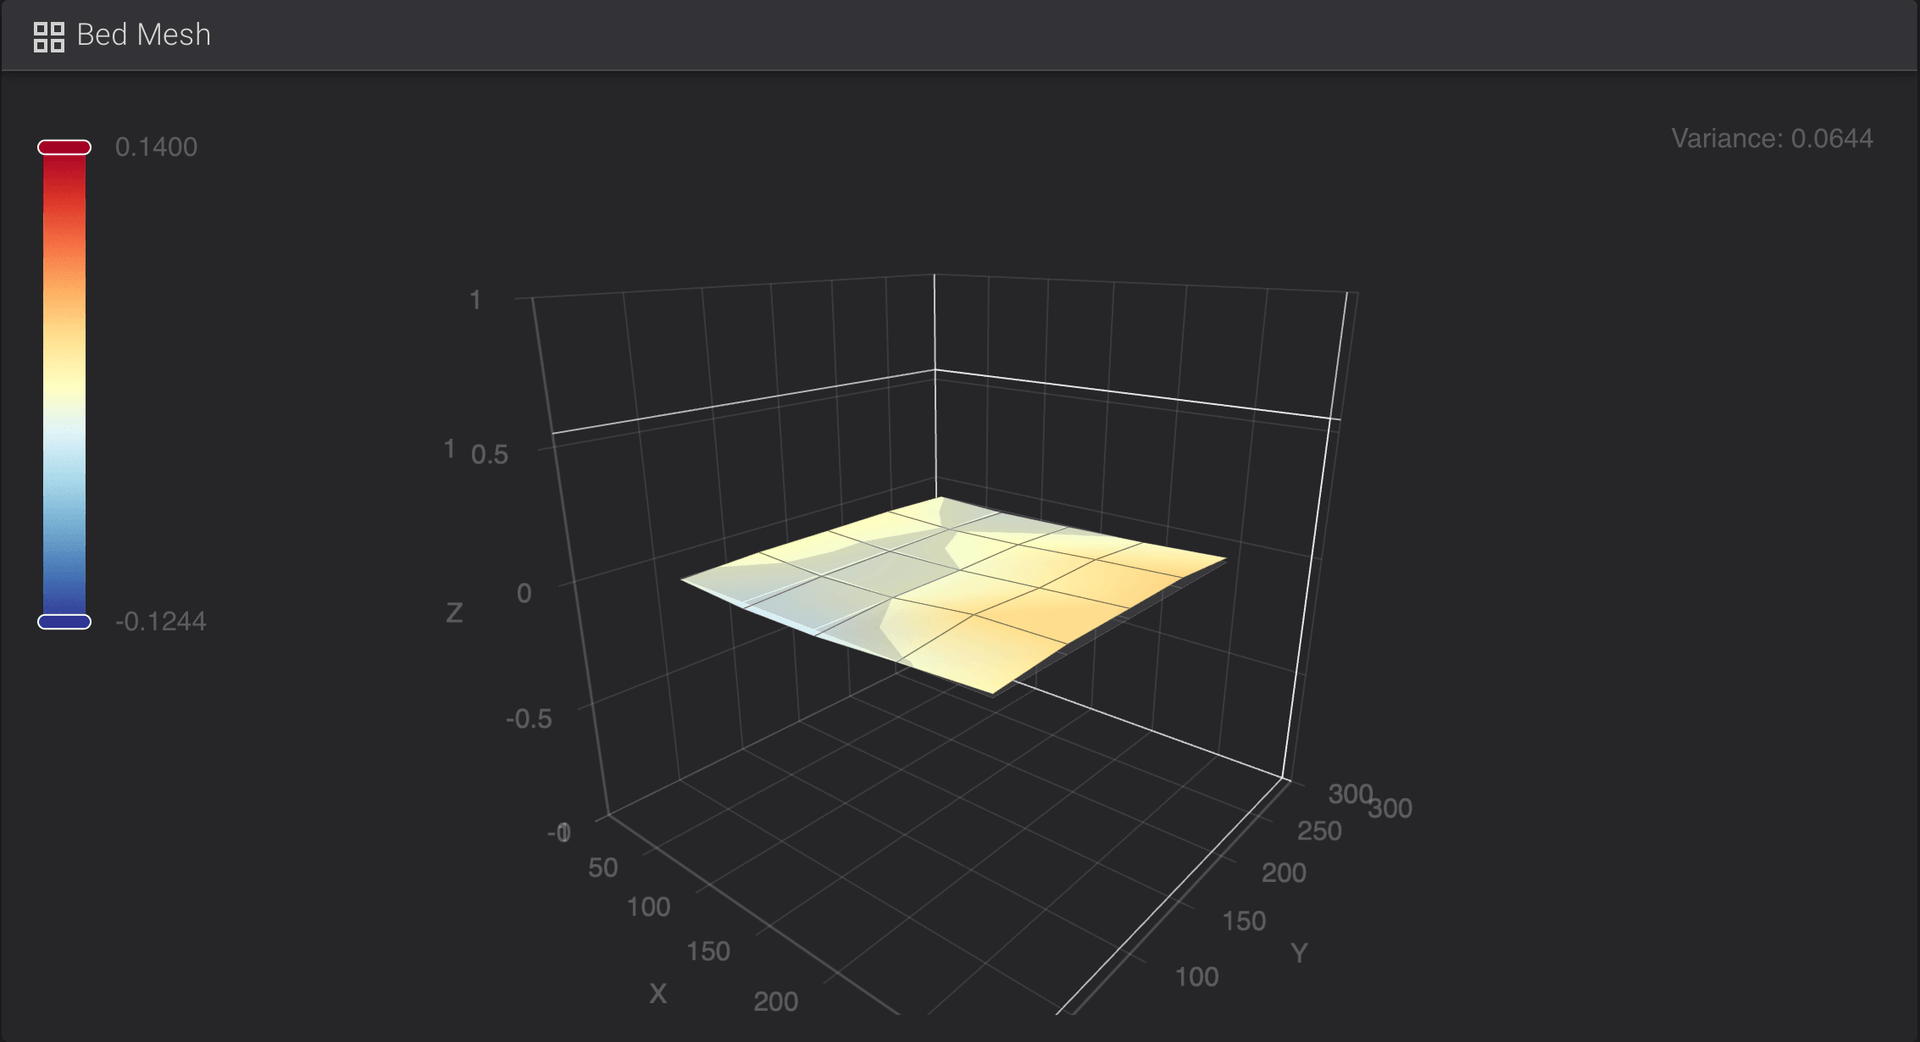
When I first built my Voron V1.8, which was later upgraded to a Trident, I performed a bed mesh calibration (probing 5x5 points to measure flatness) and was pleasantly surprised to find a deviation of only 0.004mm. This printer had been in use for several hundred, if not thousands of hours, with mostly the bed mesh functionality turned off, as the bed was perfectly flat. But after upgrading to a Trident and reassembling the printer, I found a deviation of 0.08mm, which I still considered to be good.
However, recently, I had a couple of mishaps with the bed hitting a spool on its way down and the nozzle hitting the PEI plate and damaging the PEI sheet, which was glued to a spring steel sheet and attached to the top of the aluminum bed plate with a temperature-resistant magnet. I became concerned for the wellbeing of my bed setup and performed a bed mesh calibration to check everything was still okay. To my dismay, the deviation had risen to 0.32mm. This deviation is more than the typical 0.2mm layer height and needs to be accounted for if I wanted the prints to stick to the bed along the build plate.
At first, I considered replacing the aluminum plate, but then remembered that the high heat magnet and the silicone heater are permanently attached to the bed, and replacing all of these would cost more than an entry-level printer and I would have to wait at least a couple of months for the parts.
I decided to add a bed mesh calibration to run before each print to account for the bed deviations, which is not bad, and is a good failsafe anyway. However, being a tinkerer, I couldn’t just accept that this was the best I could do. So I started researching ways to fix it. I realized that it would be difficult as I would need to remove the magnet and heater, probably ruining them in the process before being able to do anything to the MIC6 plate. But then, I noticed that the bed mesh calibration depicted most of the deviations on the corners and not in the middle.
This got me thinking that I might have been looking at the problem the wrong way, and that it could have been a coincidence. What if the plate did not get bent after all, but the gantry (the extrusion on which the print head moves on X and Y) was not perfectly parallel to the bed anymore after over a thousand hours of prints after the rebuild? I got my caliper out and indeed I could measure the front of the gantry to be 110.6mm and the back to be 110.8mm offset from the perfectly flat top extrusions.
After a few tries of loosening, tightening, bed meshing and trying again, my bed mesh deviation was back to a happy 0.042mm (can probably get it lower if gave it more tries). It is solving such “problems” that intrigue me, and I like to tinker with 3D printers. Sometimes, you have to look at the bigger picture and look into an issue without blinkers.
Subscribe to masimplo.com
Get the latest posts delivered right to your inbox

